I believe that sculpting in clay is a combination of imagination, study, and technical ability. I think it’s helpful for students to begin with some essential skills in order to make learning easier and more fun. Developing these skills will allow you to create more realistic figures, to be less frustrated, and to feel more competent.
In this article, we will cover the basic techniques for modeling clay that you should master as a beginner. This will help you develop your skills and get a good feel for the material.
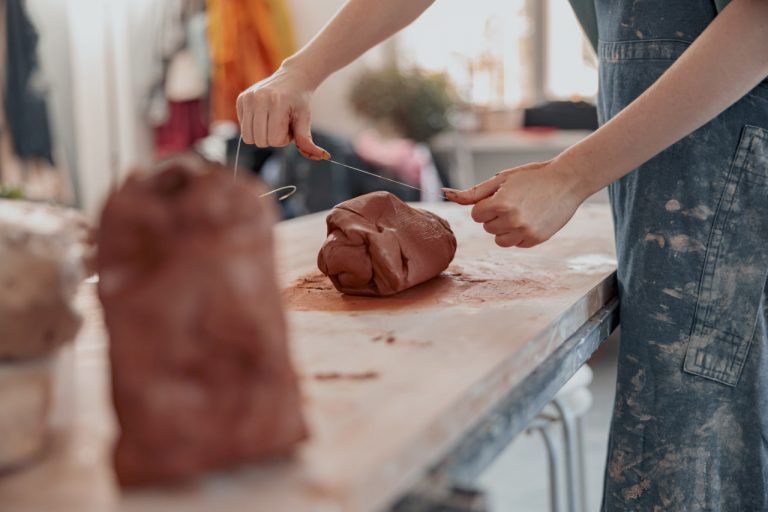
Clay can be a bit mysterious, but it’s actually pretty simple. To begin with, “clay” is a broad term that encompasses a wide range of materials. Essentially, it’s a type of fine-grained earth that is commonly found in soil. One of its key characteristics is that it becomes plastic when mixed with water. In other words, when you add water to clay, it turns into a pliable, moldable substance. This is a fundamental property of clay, and it’s an important factor to consider when working with it.
If you’re planning to begin sculpting, you need to know about the material you will be working with. There are different kinds of clay with different workability, drying speed and texture.
Air-dry clay: Good for beginners. Dries naturally without firing.
Polymer clay: baked in the oven, perfect for making small intricate models.
Pottery clay: Firing in a kiln is needed. Good for bigger or more robust pieces.
By knowing the nature of the clay you are working with, you can determine the best method of sculpting, decide on the tools to use, and avoid mistakes such as cracking or over-working the clay.
Before You Begin
Keep your work surface clean and organized, it will aid you in working faster, and you won’t have to deal with dirty clay. If you are a beginner, you should:
If necessary, line with a silicone mat or parchment paper.
Make sure to have water and the smoothing tools within reach.
Set aside a container for recycled clay or excess clay.
A clean and comfortable workspace minimizes distractions and allows you to concentrate on the technique.
Basic Hand Techniques
These hand techniques are the starting point for any sculpture. With practice, it will give you good coordination and control on the clay.
A squeeze
This is probably the easiest technique. It is used for creating a hollowed out form, a bowl shape, or a body part like an arm or leg. Squeeze and pull out with your thumb and fingers. If you press consistently with the same amount of pressure the clay won’t be too thick and will have less of a chance of cracking.
“Rolling and Coiling.”
If you need to make arms, legs, a tail, or details, roll the clay into long thin rolls or ropes. You can stack coils to make something taller or to give it some shape. Try to roll them out so they’re roughly the same.
slabbing
We use a slabbing technique to roll out flat slabs of clay with a rolling pin or similar, to create walls, wings or geometric forms. Slabs should be of even thickness to prevent cracking when drying and firing.
Blurring and Merging
Blend the surfaces and joints to smooth them out. You can use your fingers, a soft tool or a small brush with water to smooth out the edges and any finger prints. Blending is important if you want your figure to look professional.
Wood sculpting can be made easier by using appropriate tools.
Now, I’m not gonna lie, while hand techniques are a good starting point, tools will make things a lot easier and will aid in getting the detail right that’s nearly impossible to do by hand.
Loop tools and rib tools: Great for shaping, scooping out, and scraping away extra clay.
Needle tools: Good for details, texture or scratching surfaces for joints.
Modeling tool: Round tip – For blending curves, defining details.
By trying out the various tools you can discover which is most suitable for you and your project.
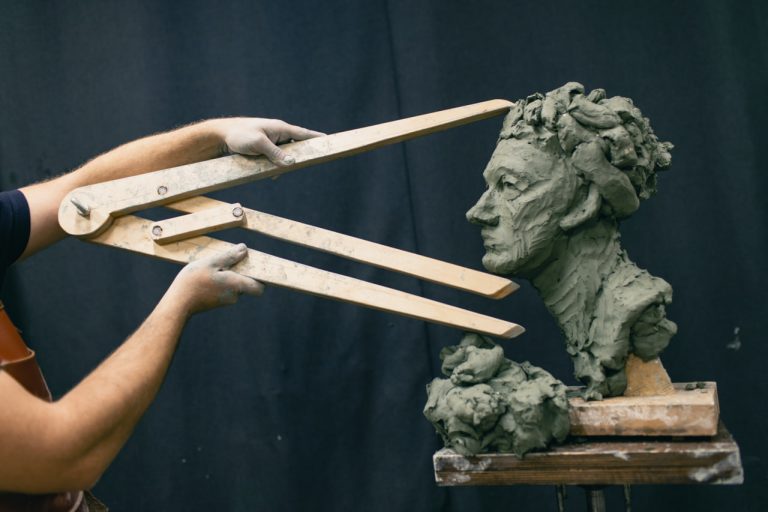
Building Figures Step by Step
One of the biggest mistakes a novice sculptor makes is to attempt to model the entire figure at the same time. Using a systematic method minimizes mistakes and helps you achieve proportion and balance.
Begin with a basic structure or armature to help hold things in place.
Start adding spheres, cylinders and cubes to represent the different parts of the body.
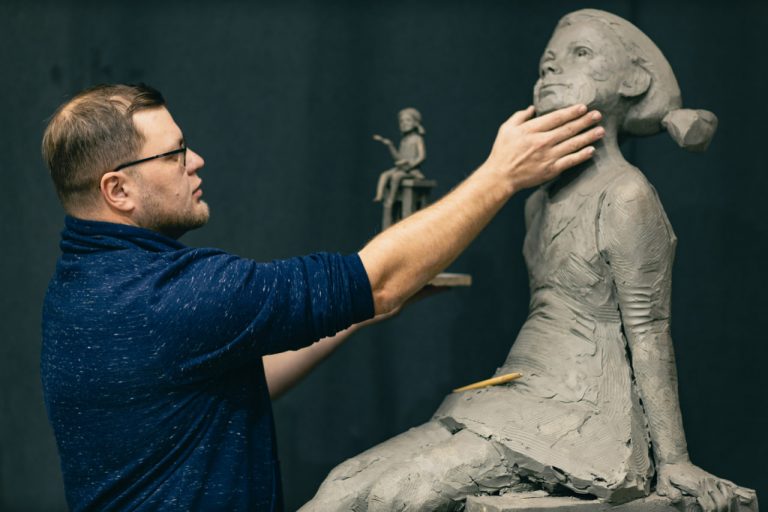
Accurately adjust proportions and then refine with details.
If you’re adding limbs or other smaller parts, make sure to smooth out the joints.
Finish with smooth and texture surfaces.
If you take it step by step, then you won’t get frustrated and the figures are not so complicated.
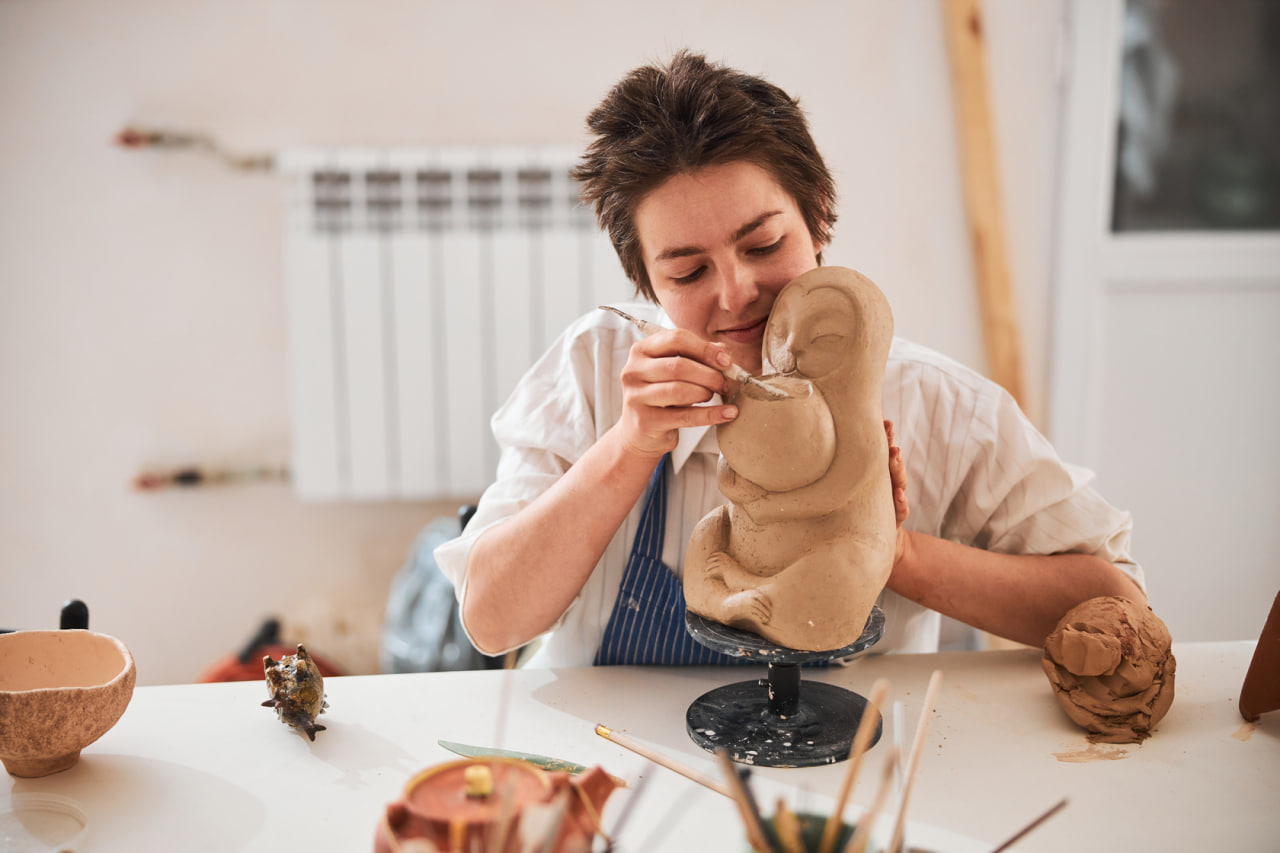
Fourth step: Add Some Texture and Details
Details add character to a clay figure. Methods include:
Pressing objects into the clay to create texture (such as leaves or fabric designs).
Score and slip to attach small parts.
Detail work, like defining facial features, hair, creases.
By beginning with the smallest details first, the novice will learn and not be distracted by the broader proportions of the figure.
DRYING AND FINISHING
Drying and finishing processes will help maintain the quality of your craft and will make it look better.
Ideally, you want to let your air-dry clay piece dry slowly and consistently so that it doesn’t crack.
When using polymer clay, bake for the amount of time and at the temperature you’re instructed to.
Lightly sand if needed after dried to remove any roughness.
Optional: paint or glaze the piece.
Taking care of your work at this stage is necessary to give it a long life and professional appearance.
Time to Exercise Our Patience and Persistence
Sculpting in clay is a process that takes time to master. More than anything, you need patience. Don’t worry so much about time and intricacy, but just make sure to keep at it, and to watch what happens as you go, so that you can learn from what you’re doing.