When it comes to sculpting, it is absolutely vital that you choose the right materials for the job. The type of clay and tools you use will determine how difficult your figures are to shape, how much detail you can add, and what the overall result will look like. Whether you are a novice sculptor or an old pro, it is helpful to know what type of clay and what tools to use.
In this article, we will explore which clay and tools to use for each sculpting task so you can begin with the best outcome.
Understanding Different Types of Clay: An Overview
All clay is not alike, and some types are more ideal for specific pieces.
Airdry clay
Air-dries; no kiln needed.
Perfect for newbs, easy to use and very forgiving.
May be painted or sealed once dry.
Ideal for miniatures, ornaments, and rapid crafting.
Polymer clay
Hardens when baked in a home oven.
Great for miniatures and miniatures sculpting.
This stays soft until baked so you can go back and tweak it as many times as needed.
Available in multiple colors to minimize painting requirements.
Clay (for pottery or ceramics)
Needs to be fired in a kiln to harden.
Ideal for bigger or working sculptures.
May be glazed and fired for a finished look.
Provides better control over texture and surface effects.
Alternatively, you can use modeling clay or oil-based clay.
Doesn’t harden completely. Will stay soft.
Great for practicing, prototyping and maquettes.
So that the sculptor has free rein, without drying concerns.
The type of clay you use will depend on your desired outcome, the tools you have available, and if you want a more permanent finished product.
What to Look for in Your Clay
Workability: The softer the clay, the easier it is to shape, however it may require more support for larger figures.
Drying Time: Although it is handy that you don’t need to fire air-dry clay, it will crack if you let it dry too fast.
Durability: Both polymer and fired clay result in very durable pieces of art.
The coarser clay will give your piece a more organic look, but if you need to work with fine details, you may wish to use smooth clay instead.
Color: If the clay is pre-colored, it saves time on finishing, but you are restricted to the manufacturer’s color offerings.
Knowing these helps you choose a clay that will be able to help create the sculpture you are planning.
Basic modeling instruments
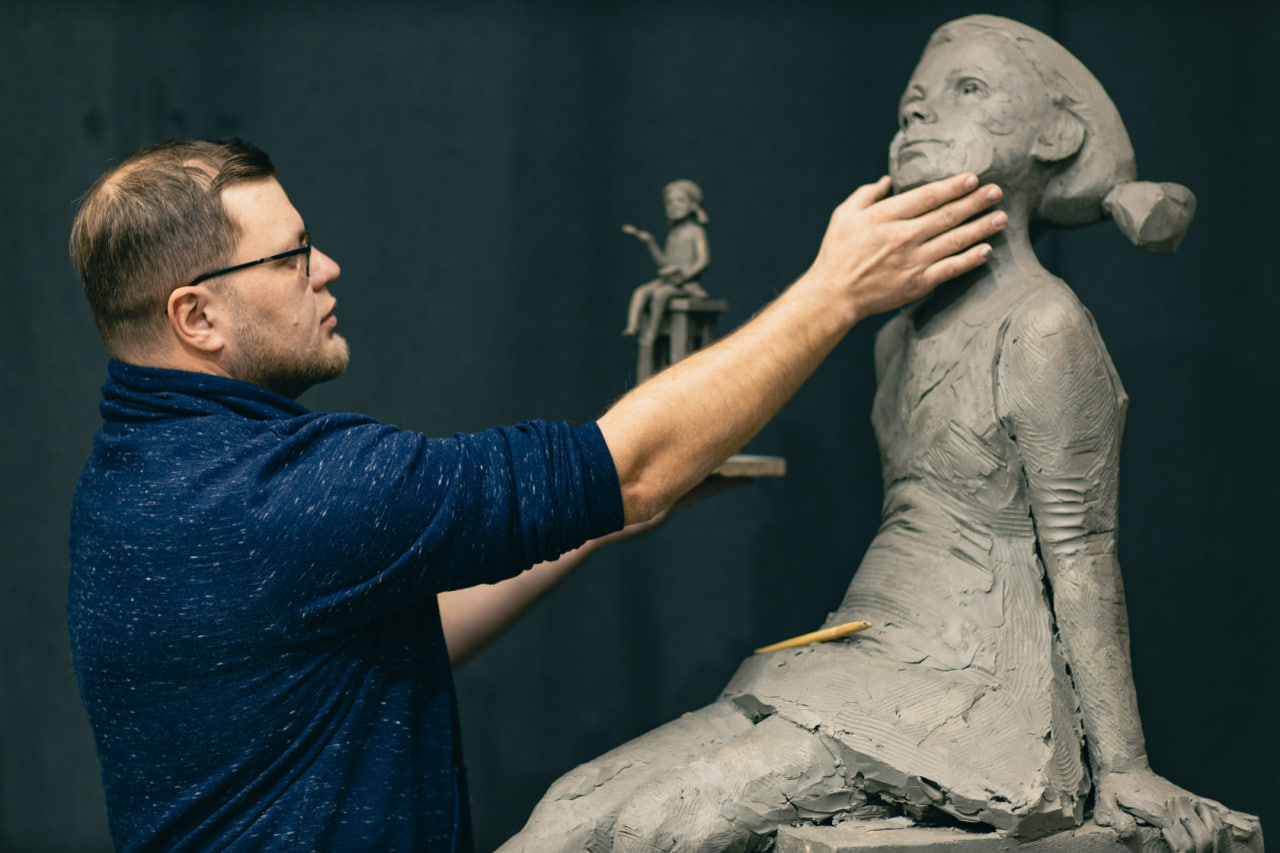
The hands are the main tools used to shape the clay, but other tools are used to refine the process.
Your First Tools
Fingers and palm: Used for modeling, flattening and merging.
Rolling pins or rods: used to roll out clay for slabs or sheets.
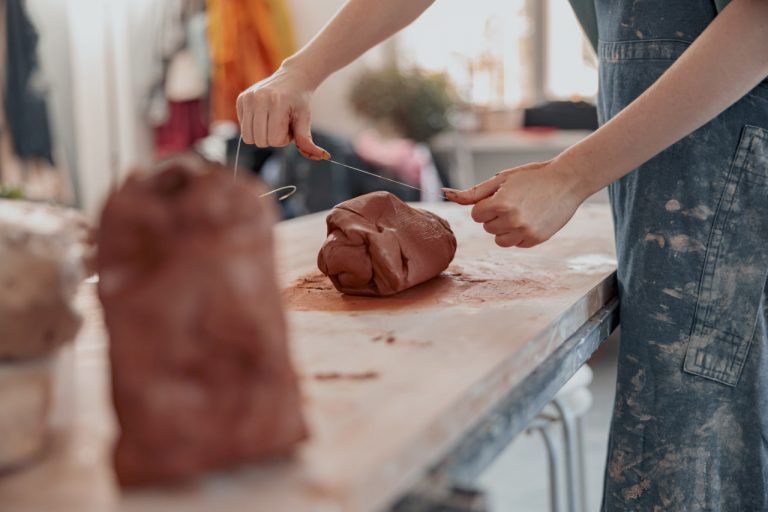
Cutting tools: Regular knives or clay cutters for cutting out the shapes.
Miniature sculpting requires a set of small, pointed tools that are used to shape and carve the miniatures. While different sculptors may prefer different tools, here are some of the most common ones used for sculpting miniatures.
Loop and ribbon tools: useful for digging out, hollowing and for scraping off excess clay.
Needle tools: Great for details, texture and scoring clay for joints.
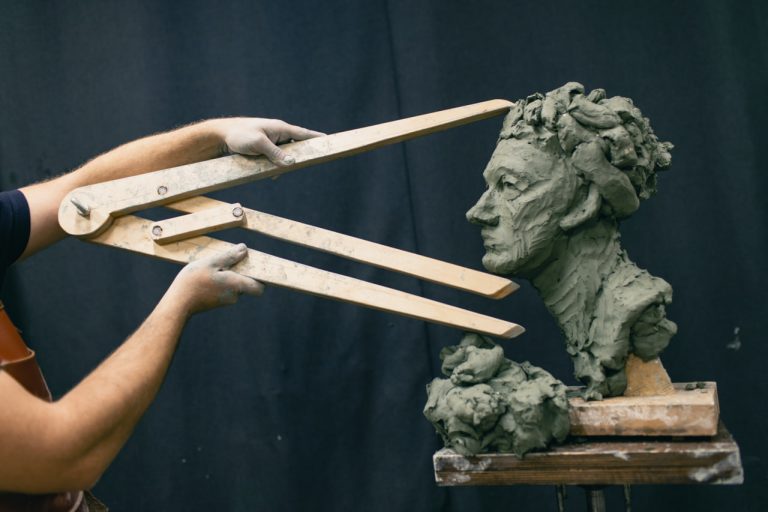
Ball styluses or rounded tips: For detailing (e.g. eyes) or rounding surfaces.
Tools for texturing: Various types of brushes, sponges, stamps or combs used to create surface textures that resemble those found in nature.
Tool Maintenance
Tools should be cleaned off frequently to prevent dried clay from accumulating and to make them easier to work with.
If you need to wash your air-dry or polymer clay tools, use only water or soap.
Always keep sharp tools out of harm’s way to prevent injuries.
The beauty of matching tools and clay lies in their individuality, much like fingerprints—no two pairs are alike. The right tool is defined by how comfortably it fits in your hand, how smoothly it glides through the clay, and how easily it accomplishes the intended task. For example, a metal rib should feel balanced and not too heavy, with a rounded edge that won’t catch or tear the clay. A wooden modeling tool is right if it’s solid and hefty, with a tip that’s neither too sharp nor too dull, making it simple to control as you push or pull the clay.
The type of clay dictates the type of tools.
Air dry clay is soft and can be manipulated with fingers, blunt knives, and any type of smoothing tool.
Fine modelers, texture stamps and nail files or fine blades work well with polymer clay.
You may need stronger loop tools, rib tools, and wire cutters for larger ceramic pieces.
I also find that it helps if you use tools that match well with each other. Using the wrong tool for the job will only make sculpting more difficult and aggravating.
Getting Your Desk in Order
Having an organized work area makes the sculpting process easier:
You can use a flat, non-stick surface to keep clay from sticking.
Store tools and clay nearby to ensure that they are always at hand.
Keep clean clay and dirty clay separated. You don’t want them to get contaminated or dyed by mistake.
Time is saved by being organized, so you can concentrate on technique and creativity.
Practice Using the Correct Tools
Consider starting with a low-cost, soft and forgiving clay and some basic tools to hone your skills before moving on to the high-end clay and specialty tools. If you mess up, the changes are often still be easily corrected.